



OBS Studio is a free, open-source software program used for screen recording and live streaming. It allows you to capture video from screen recordings, webcams, and games, mix audio sources, and broadcast your content to platforms like YouTube, Twitch, or Facebook Live. It is a popular platform for streaming among gamers and online content creators. Learning how to record with OBS helps you create better videos and avoid common issues like no sound or a black screen.
What Is OBS Studio?
OBS is a free software program used to record videos and stream live content. Whether you’re creating gameplay videos, hosting live streams, recording tutorials, or sharing presentations, OBS provides the tools you need to capture and customize your content.
Reasons to record with OBS:
- Create Custom Videos and Streams: Combine your webcam, gameplay, images, text, and browser windows into a single, personalized layout.
- Improve Your Audio: Use the built-in audio controls to adjust microphone and computer sound, reduce background noise, and add audio enhancements with plugins.
- Record or Stream in High Quality: Save videos to your computer in popular formats like MP4 or MKV, or stream live with reliable, high-quality video encoding.
- Free to Use: OBS is completely free, with no time limits, subscription fees, or watermarks.
OBS is a great tool for anyone who wants to record videos or stream live. Its customizable layouts, built-in audio controls, high-quality recording options, and the fact that it is free to use make it popular for beginners as well as more experienced creators.
How to Record with OBS Studio
Recording with OBS is simple once your video and audio sources are set up. Follow the steps below to configure your recording settings so you can start capturing your content and save your video to your computer.
Step 1: Install OBS and Complete the Setup
Before you start recording with OBS, you need to install OBS Studio and let it choose the best basic settings for your computer.
To install OBS:
- Download OBS Studio from the official OBS website.
- Run the installer and follow the instructions.
- Open OBS Studio after the installation is complete.
- The first time you open OBS, it may start an automatic setup wizard. According to OBS, this checks your computer and recommends settings. If you only want to record videos, choose the recording option instead of live streaming.
When the setup is finished, OBS is ready to use with the simple default settings.
Step 2: Learn the Main Parts of OBS
OBS may seem confusing at first, but you only need to understand a few main sections that are important to what you want to do with it.
The most important parts are:
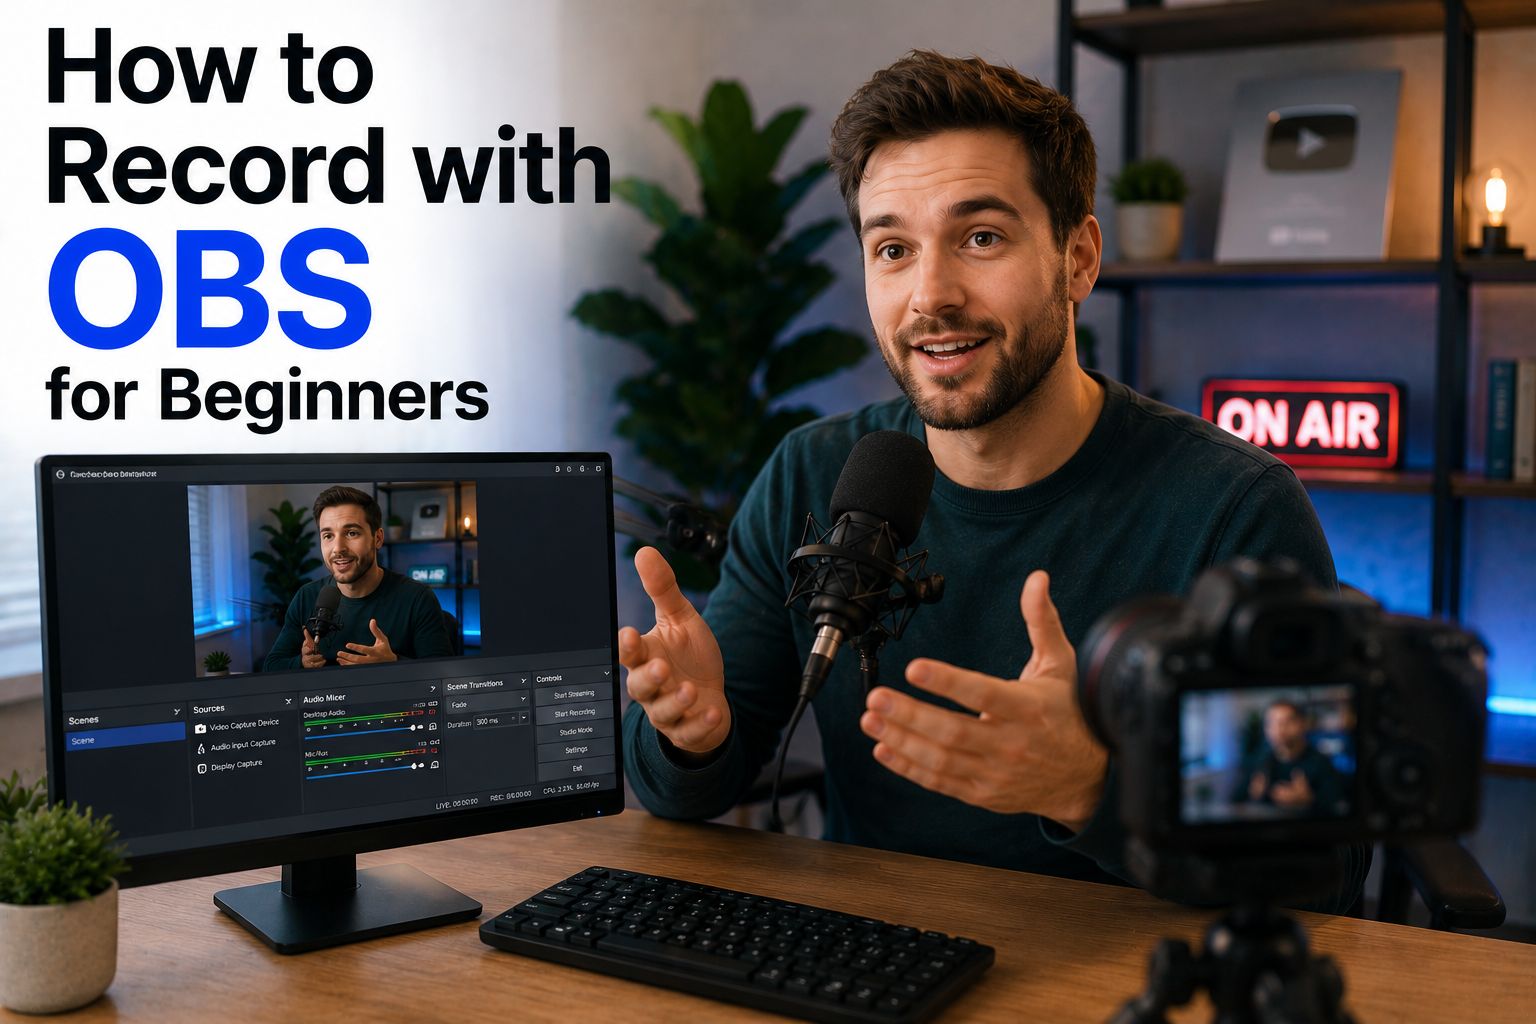
- Scenes: Groups of items you want to record.
- Sources: Things inside a scene, such as your screen, a window, or your webcam.
- Audio Mixer: Shows your microphone and computer sound levels.
- Controls: Buttons for starting and stopping recordings and opening Settings.
As a beginner, start with only one scene with your screen and audio. Later, you can create more scenes with different layouts, such as adding a webcam in the corner.
Knowing where these controls are makes recording with OBS much easier and helps you fix problems quickly.
Step 3: Add Your Video Sources
Video sources are all of the visual things that appear in your recording, such as the image of the screen you are recording.
The two most common choices for recording video sources are:
- Display Capture: Records your entire screen.
- Window Capture: Records only one selected window.
To add a video source:
- Select your scene.
- Click the + button in the Sources panel.
- Choose Display Capture or Window Capture.
- Select the screen or window you want to record.
If you want viewers to see you, add your webcam as a Video Capture Device. You can move and resize it so it doesn’t block important content.
Check the preview window to make sure everything looks correct before recording.
Step 4: Check Your Audio
Good audio is just as important as good video. In general, people will accept slightly lower video quality, but poor audio can make a recording especially difficult to watch.
By default, OBS tries to record:
- Your computer’s sound.
- Your microphone.
Speak into your microphone and look at the Audio Mixer. The level bars should move into the green and yellow areas without staying at the maximum.
If there is no sound:
- Open Settings and click Audio.
- Select the correct microphone and speakers.
You can also mute devices you don’t need and adjust the volume so your voice is louder than background sounds.
Once your audio sounds clear, you’re ready to record.
Step 5: Choose Recording Settings and Save Location
Before recording, choose where OBS will save your videos and which file format to use.
Open Settings, click Output and choose:
- Recording Path: The folder where your videos will be saved.
- Recording Format: Usually MP4, which works well for most video players and editors.
In Settings, choose Video, you can also choose your video quality.
Many people use:
1920 × 1080 or 1280 × 720 resolution.
30 frames per second (FPS).
After changing your settings, make a short test recording and watch it. This helps you find any problems before recording something important.
Using the same folder and format every time makes your recordings easier to manage.
Step 6: Start, Stop, and Pause Recordings
Now you’re ready to record with OBS. It includes simple recording controls:
- Start Recording: Begins recording your screen and audio.
- Stop Recording: Ends the recording and saves the file.
- Pause Recording: Pauses the recording and continues later without creating a new file.
You can also create keyboard shortcuts in Settings by clicking Hotkeys. This lets you start or stop recording without switching back to the OBS window.
For most situations, start recording a minute early. It’s better to have extra footage than to miss the beginning, especially if you are recording something important like a meeting, for example.
Common Problems and Easy Fixes in OBS
Even with the correct setup, beginners sometimes run into problems when learning how to record with OBS Here are a few of the most common issues and possible fixes you can try.
Black Screen
If OBS records a black screen, you should make sure you selected the correct screen or window.
On some laptops, you may need to change your graphics settings so OBS uses the same graphics card for recording as your display.
No Audio
If your recording has no sound, try checking whether the Audio Mixer bars move.
Make sure the correct microphone and speakers are selected by accessing Settings and clicking Audio.
Video Won’t Open
If your recording won’t play, you should make sure you saved it in MP4 or another supported video format.
Knowing these simple fixes helps you solve problems with OBS recording quickly.
Transcribe Recordings with Summary AI
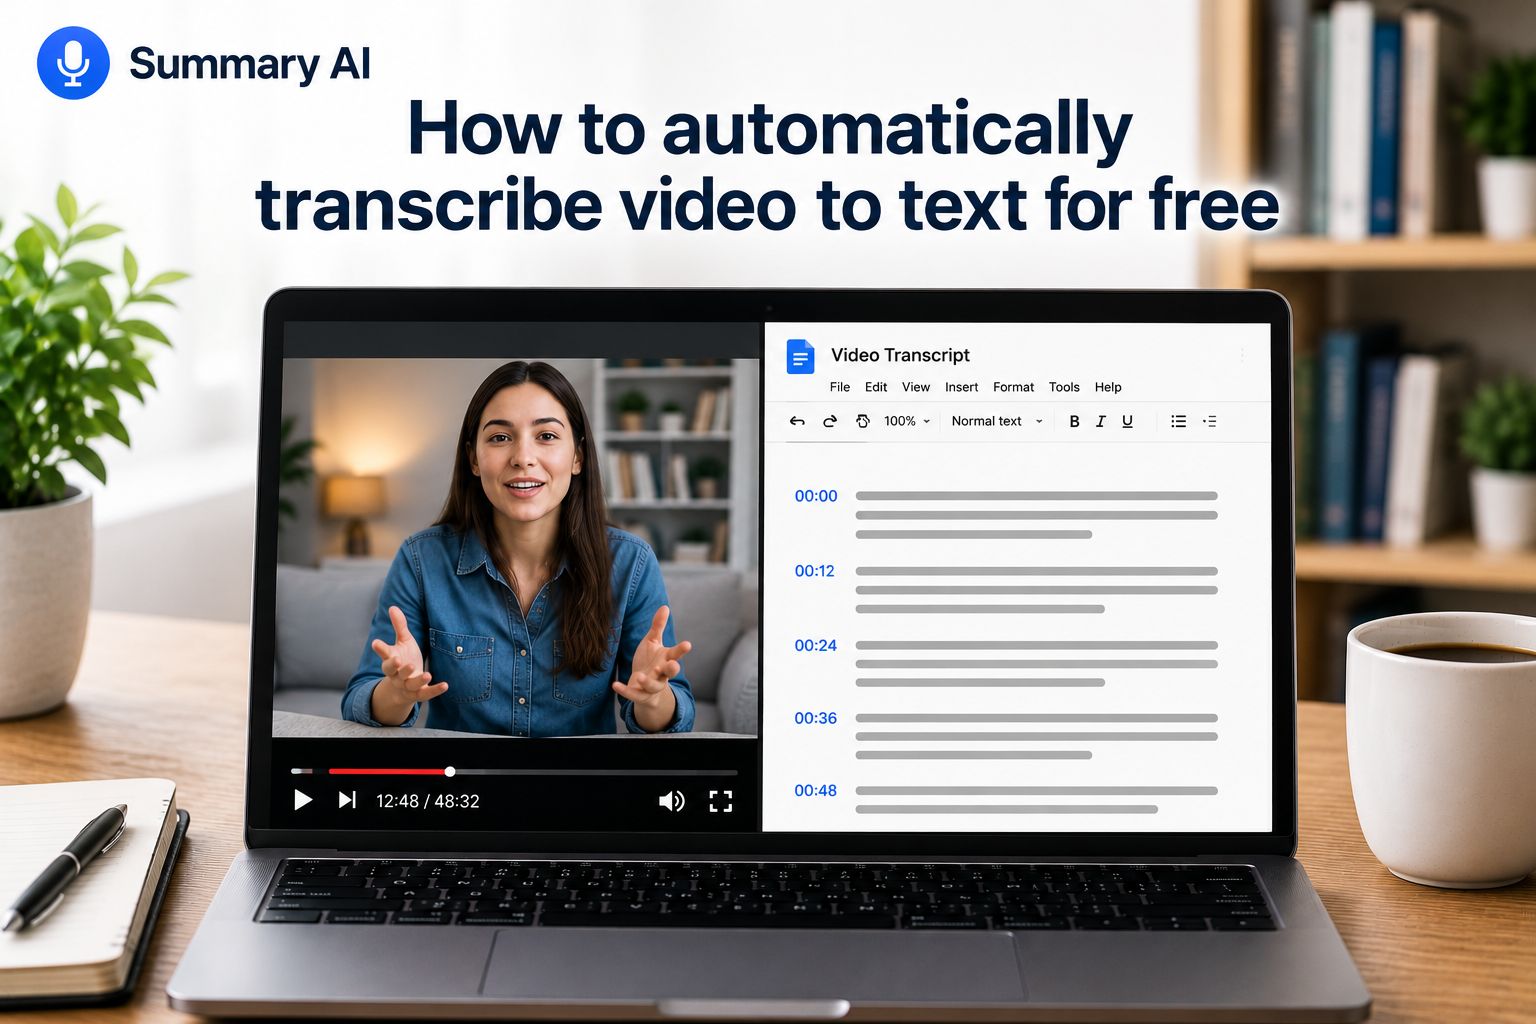
If you record lots of meetings or webinars watching every recording again can take a long time. Transcribing also lets you reuse recordings and recycle them as written materials for marketing.
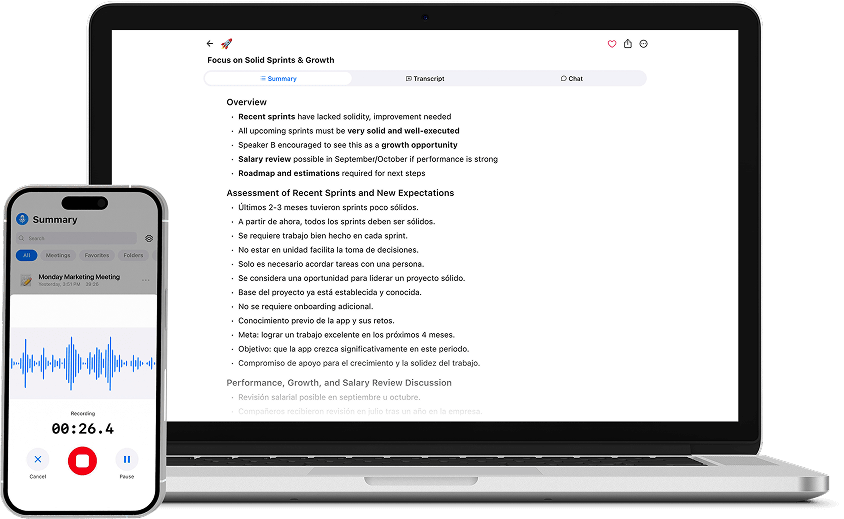
Summary AI can join your meetings, turn speech into text, and create clear summaries automatically.
Using OBS together with Summary AI lets you keep high-quality video recordings while AI transcription creates transcripts and summaries, making your workflow faster and easier.